HOW TO INSTALL ARMR PPF
Installing ARMR Paint Protection Film (PPF) is a meticulous process that requires attention to detail and the right materials. We recommend professional training and experience prior to installing our films, however this guide provides an overview of the recommended installation methods for both full color and clear PPF options, as well as the necessary products to ensure a successful application.
Disclaimer: ARMR PPF should only be installed by authorized installers with a minimum of at least 1 year of professional PPF installation experience. Please do not attempt to install ARMR PPF if you do not meet this requirement, as this may void the product's warranty. Visit our Authorized Installer Map to find an installer near you to complete your project. If you're interested in becoming an authorized installer, apply for our ARMR Installer program below. Please review our ARMR Terms and Conditions before attempting to install our paint protection films.
WET VS DRY INSTALLATION
ARMR offers two types of PPF: full color and clear. The full color PPF can be installed using either a wet or dry method thanks to its low tack Ashland acrylic adhesive. This flexibility allows installers to choose the method that best suits their skill level and environmental conditions. In contrast, the clear and carbon fiber PPFs are designed for wet installation only, which is a more meticulous process but helps to reduce visual blemishes and ensures a smooth finish.
-
WET INSTALLATION
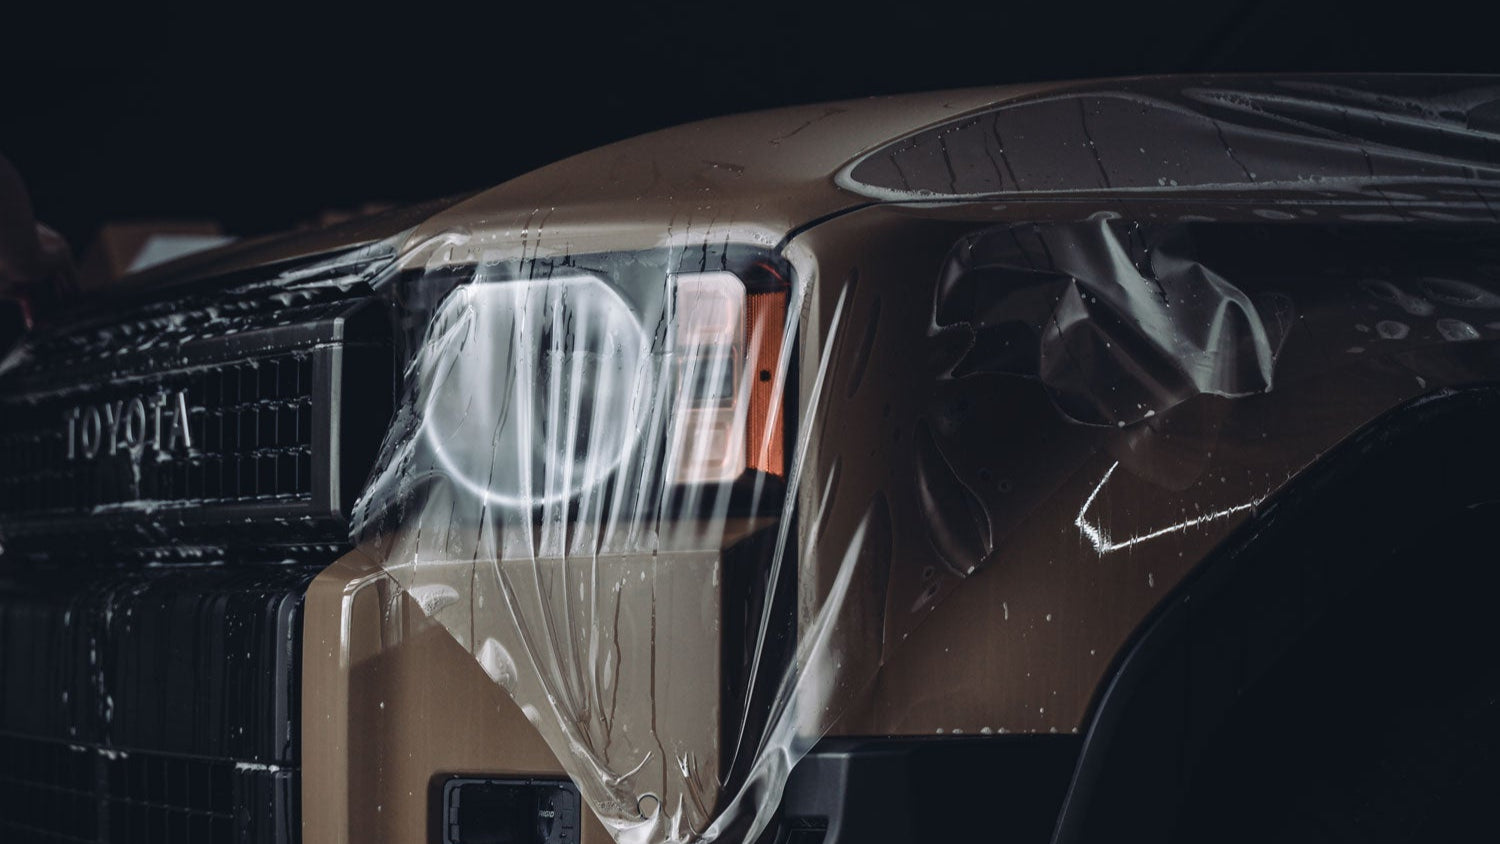
CHECK OUT OUR WET FILMSThe wet installation method requires the use of a slip solution and tack solution, but typically leads to a better finished product with less worming, fewer adhesive lines and reposition lines.
-
DRY INSTALLATION
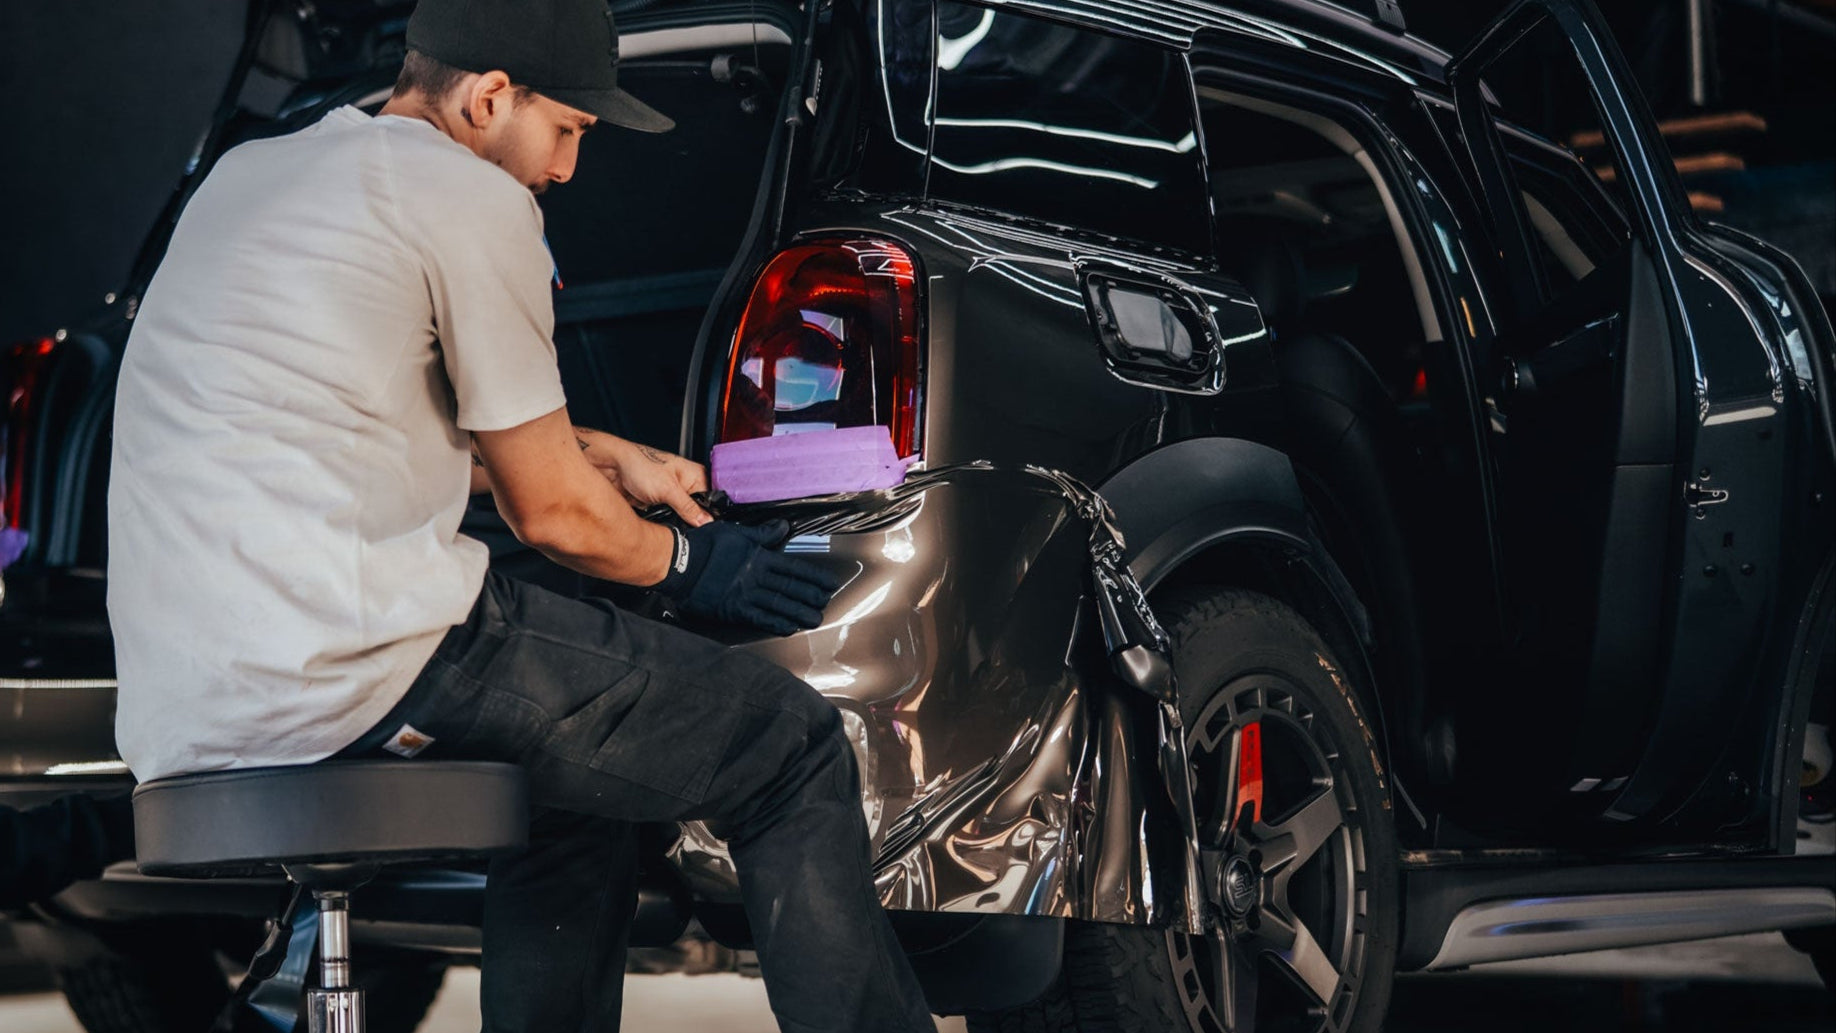
CHECK OUT OUR DRY / WET FILMSThe dry installation method is faster and less messy, but there's a greater risk to get worming, adhesive lines, and reposition lines. It's best used for flat panels and less complex vehicles.
WET INSTALLATION PREP
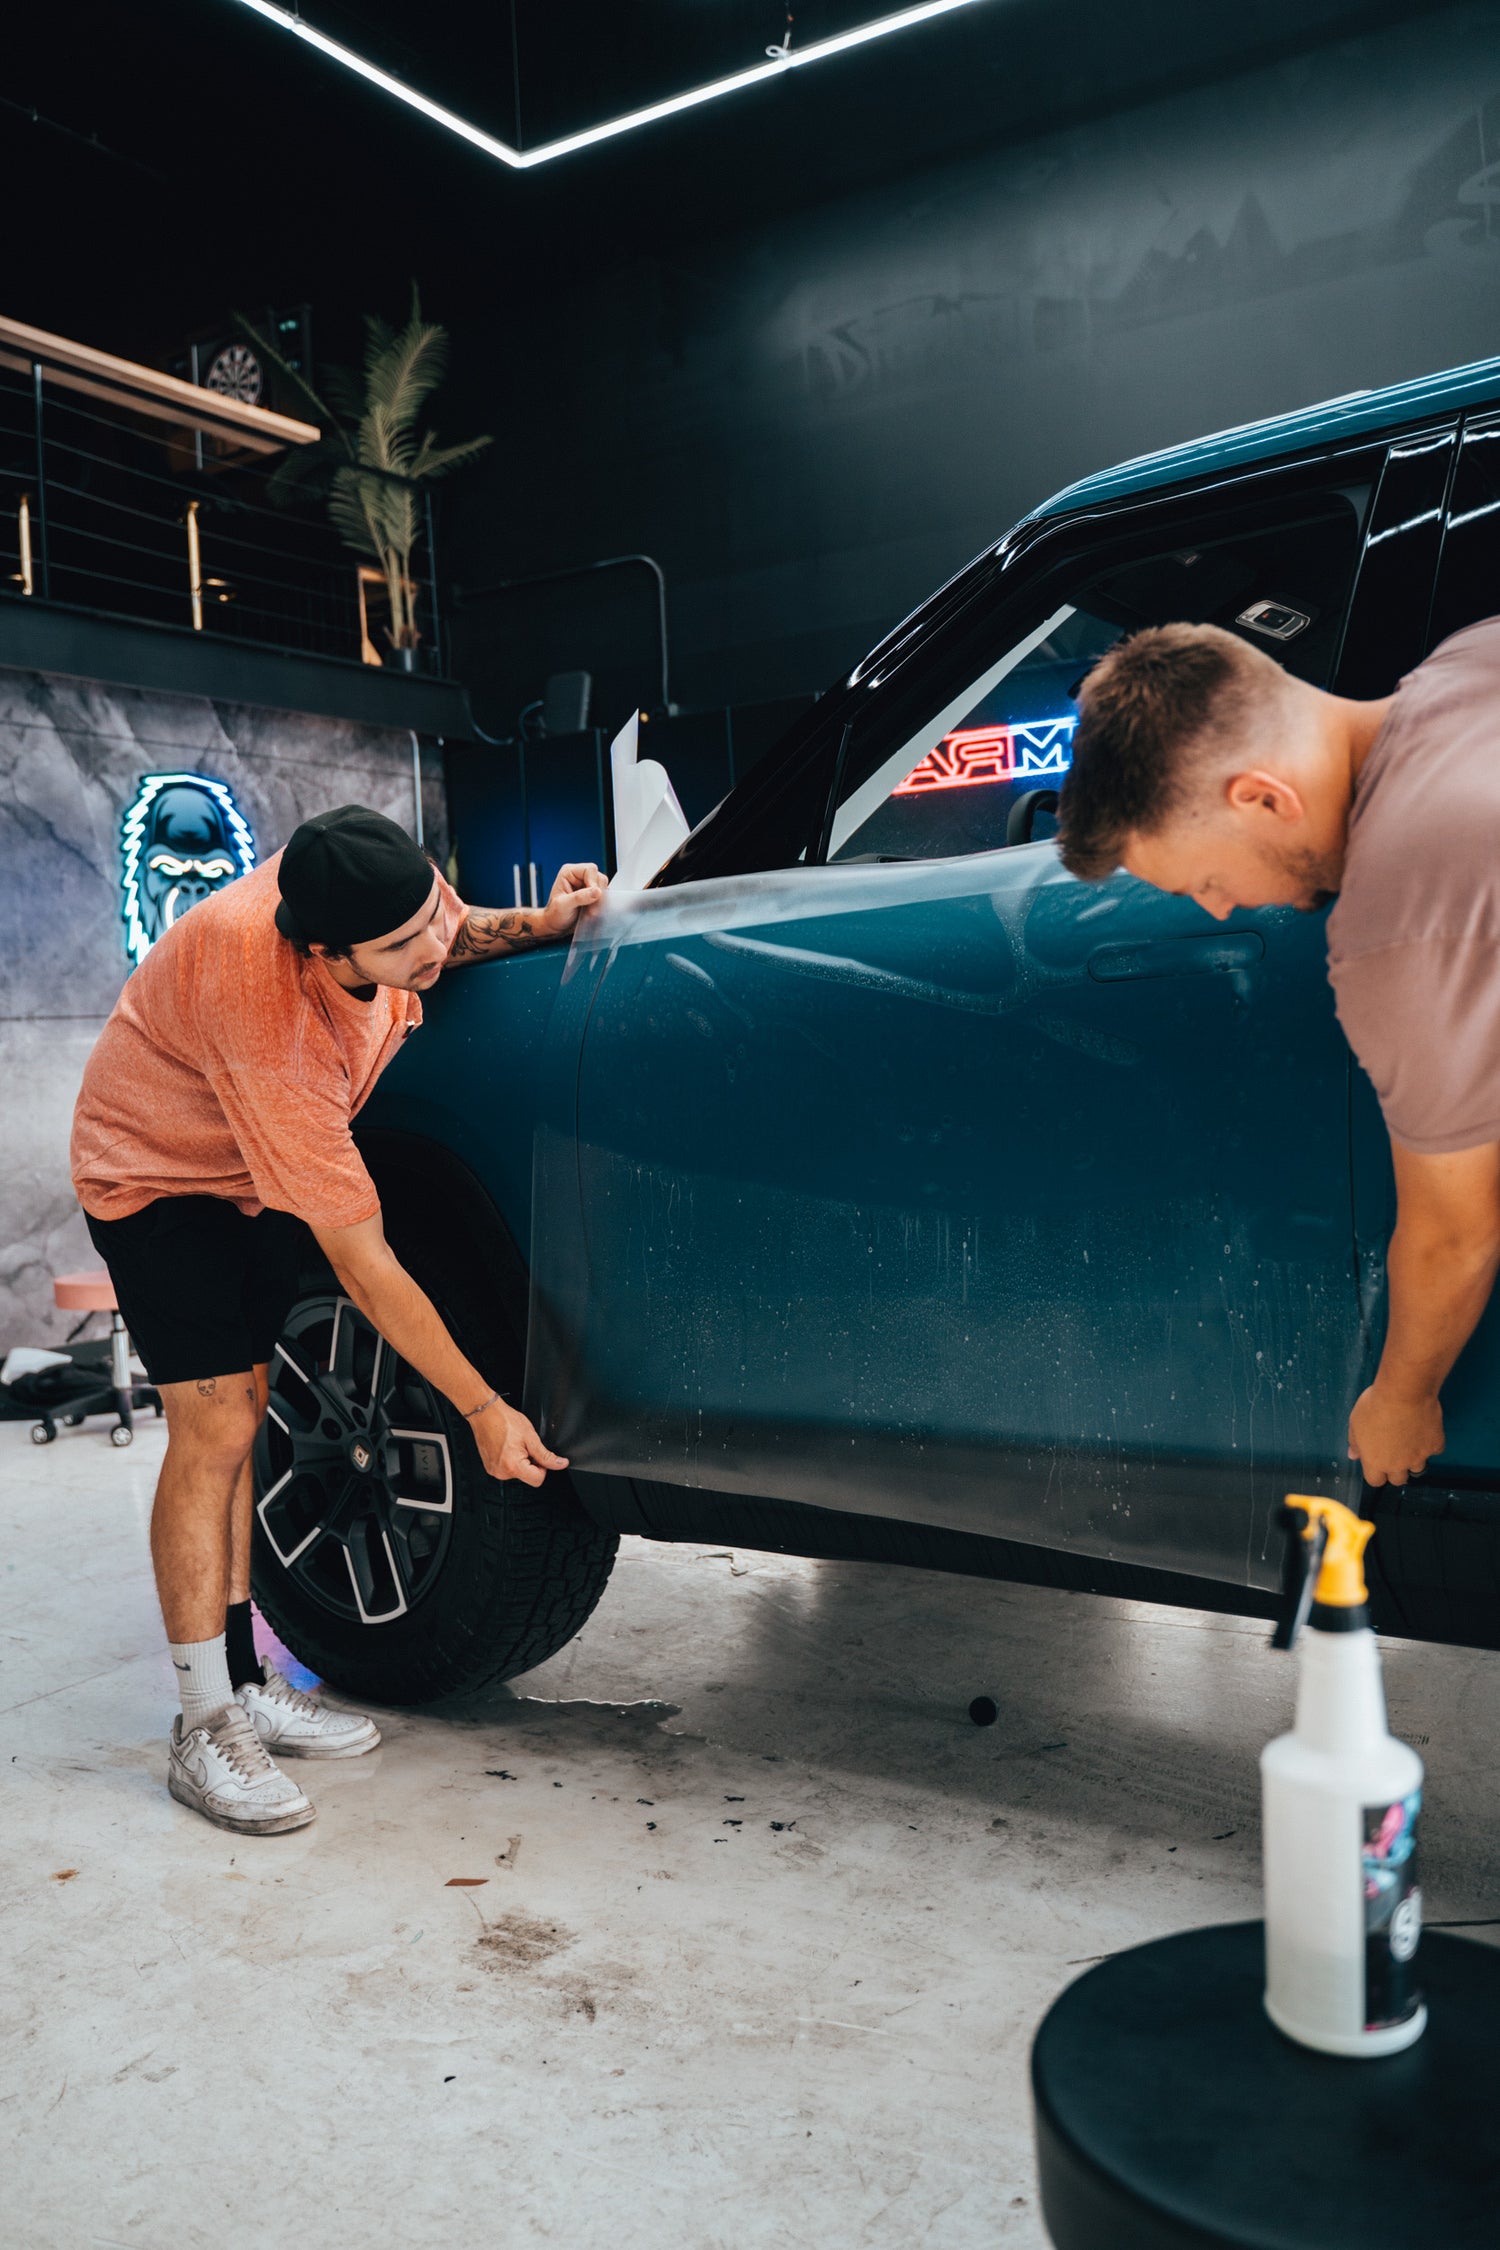
For the wet installation method, it is essential to prepare the surface properly. Begin by cleaning the vehicle's surface thoroughly to remove any dirt, wax, or imperfections. Next, mix a solution of water and Jelly Fresh to create a slippery installation gel. This solution will allow the film to slide into position before it adheres to the surface.
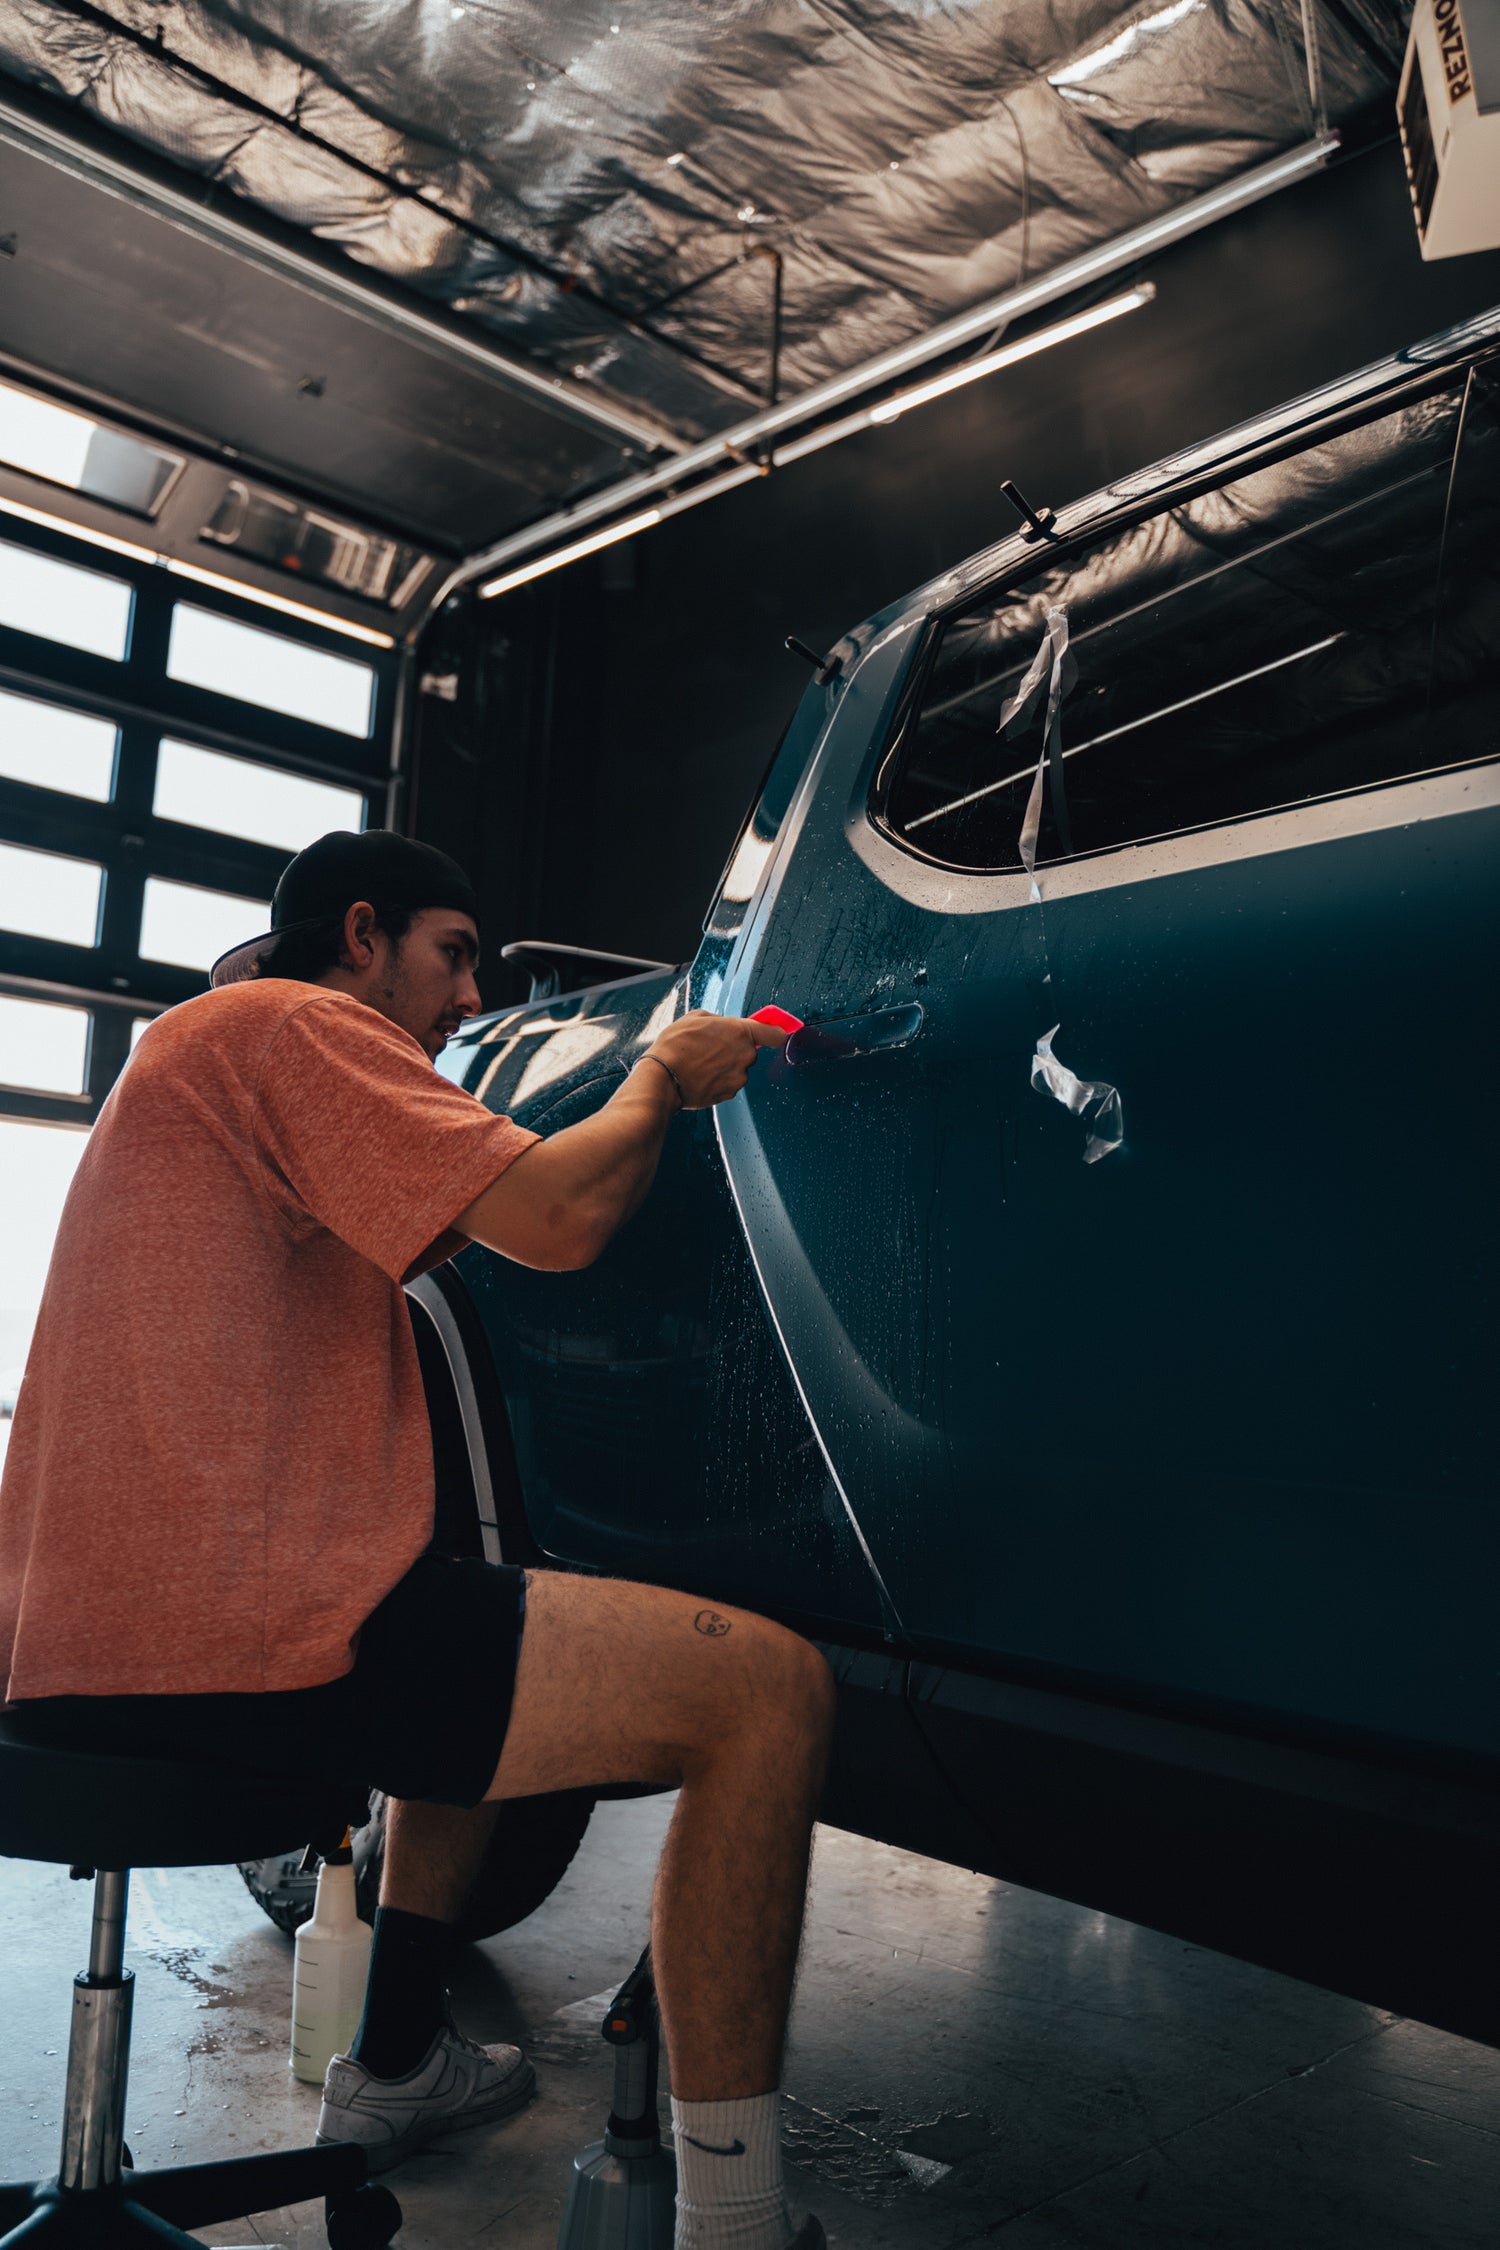
WET INSTALLATION SLIP & TACK
Once the surface is prepared, spray the slip solution generously on both the vehicle surface and the adhesive side of the PPF. Carefully position the film over the desired area, ensuring that it aligns correctly. Use a squeegee to push out any excess solution and air bubbles, starting from the center and working your way outwards. To create a strong bond, use your electric sprayer with your tack solution (we recommend hot distilled water) to wash away any remaining installation gel solution and squeegee the area again. This technique will help achieve a smooth application and reduce the risk of imperfections.
WATCH HOW TO INSTALL ARMR PPF WET
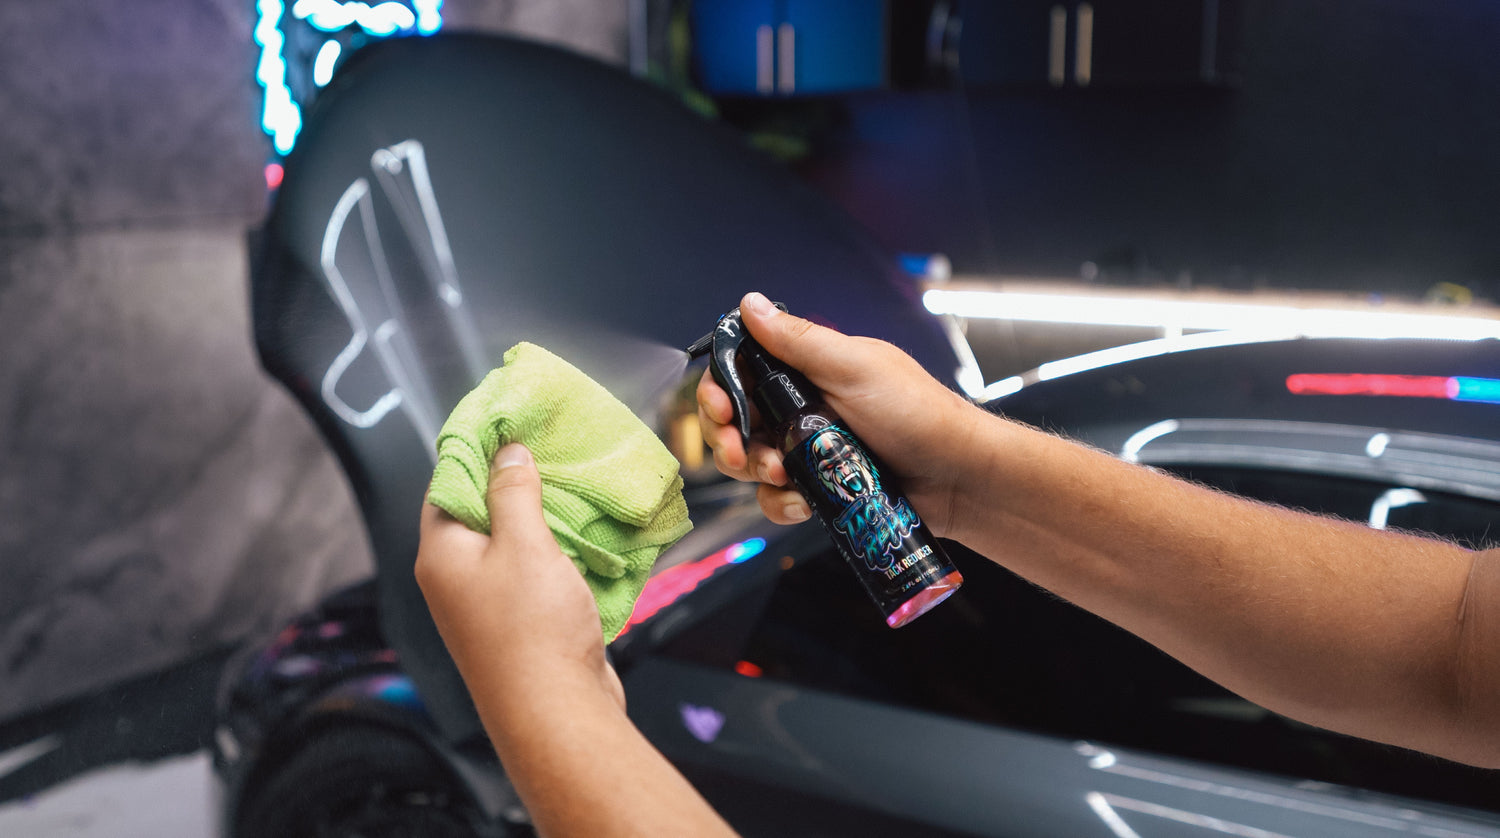
DRY INSTALLATION PREP
Your finished product is only as good as the surface. That's why it's essential to prepare the surface properly. Begin by cleaning the vehicle's surface thoroughly to remove any dirt, wax, or imperfections. Wipe each panel with a diluted alcohol solution. Next, spray Wrap Fresh Tack Repel on a clean towel and wipe down your surface being careful to avoid any edges and corners. Tack Repel acts as an anti-friction solution that creates a smooth silky surface to install the film on. It reduces the risk of adhesive lines, worming, and bubbles.
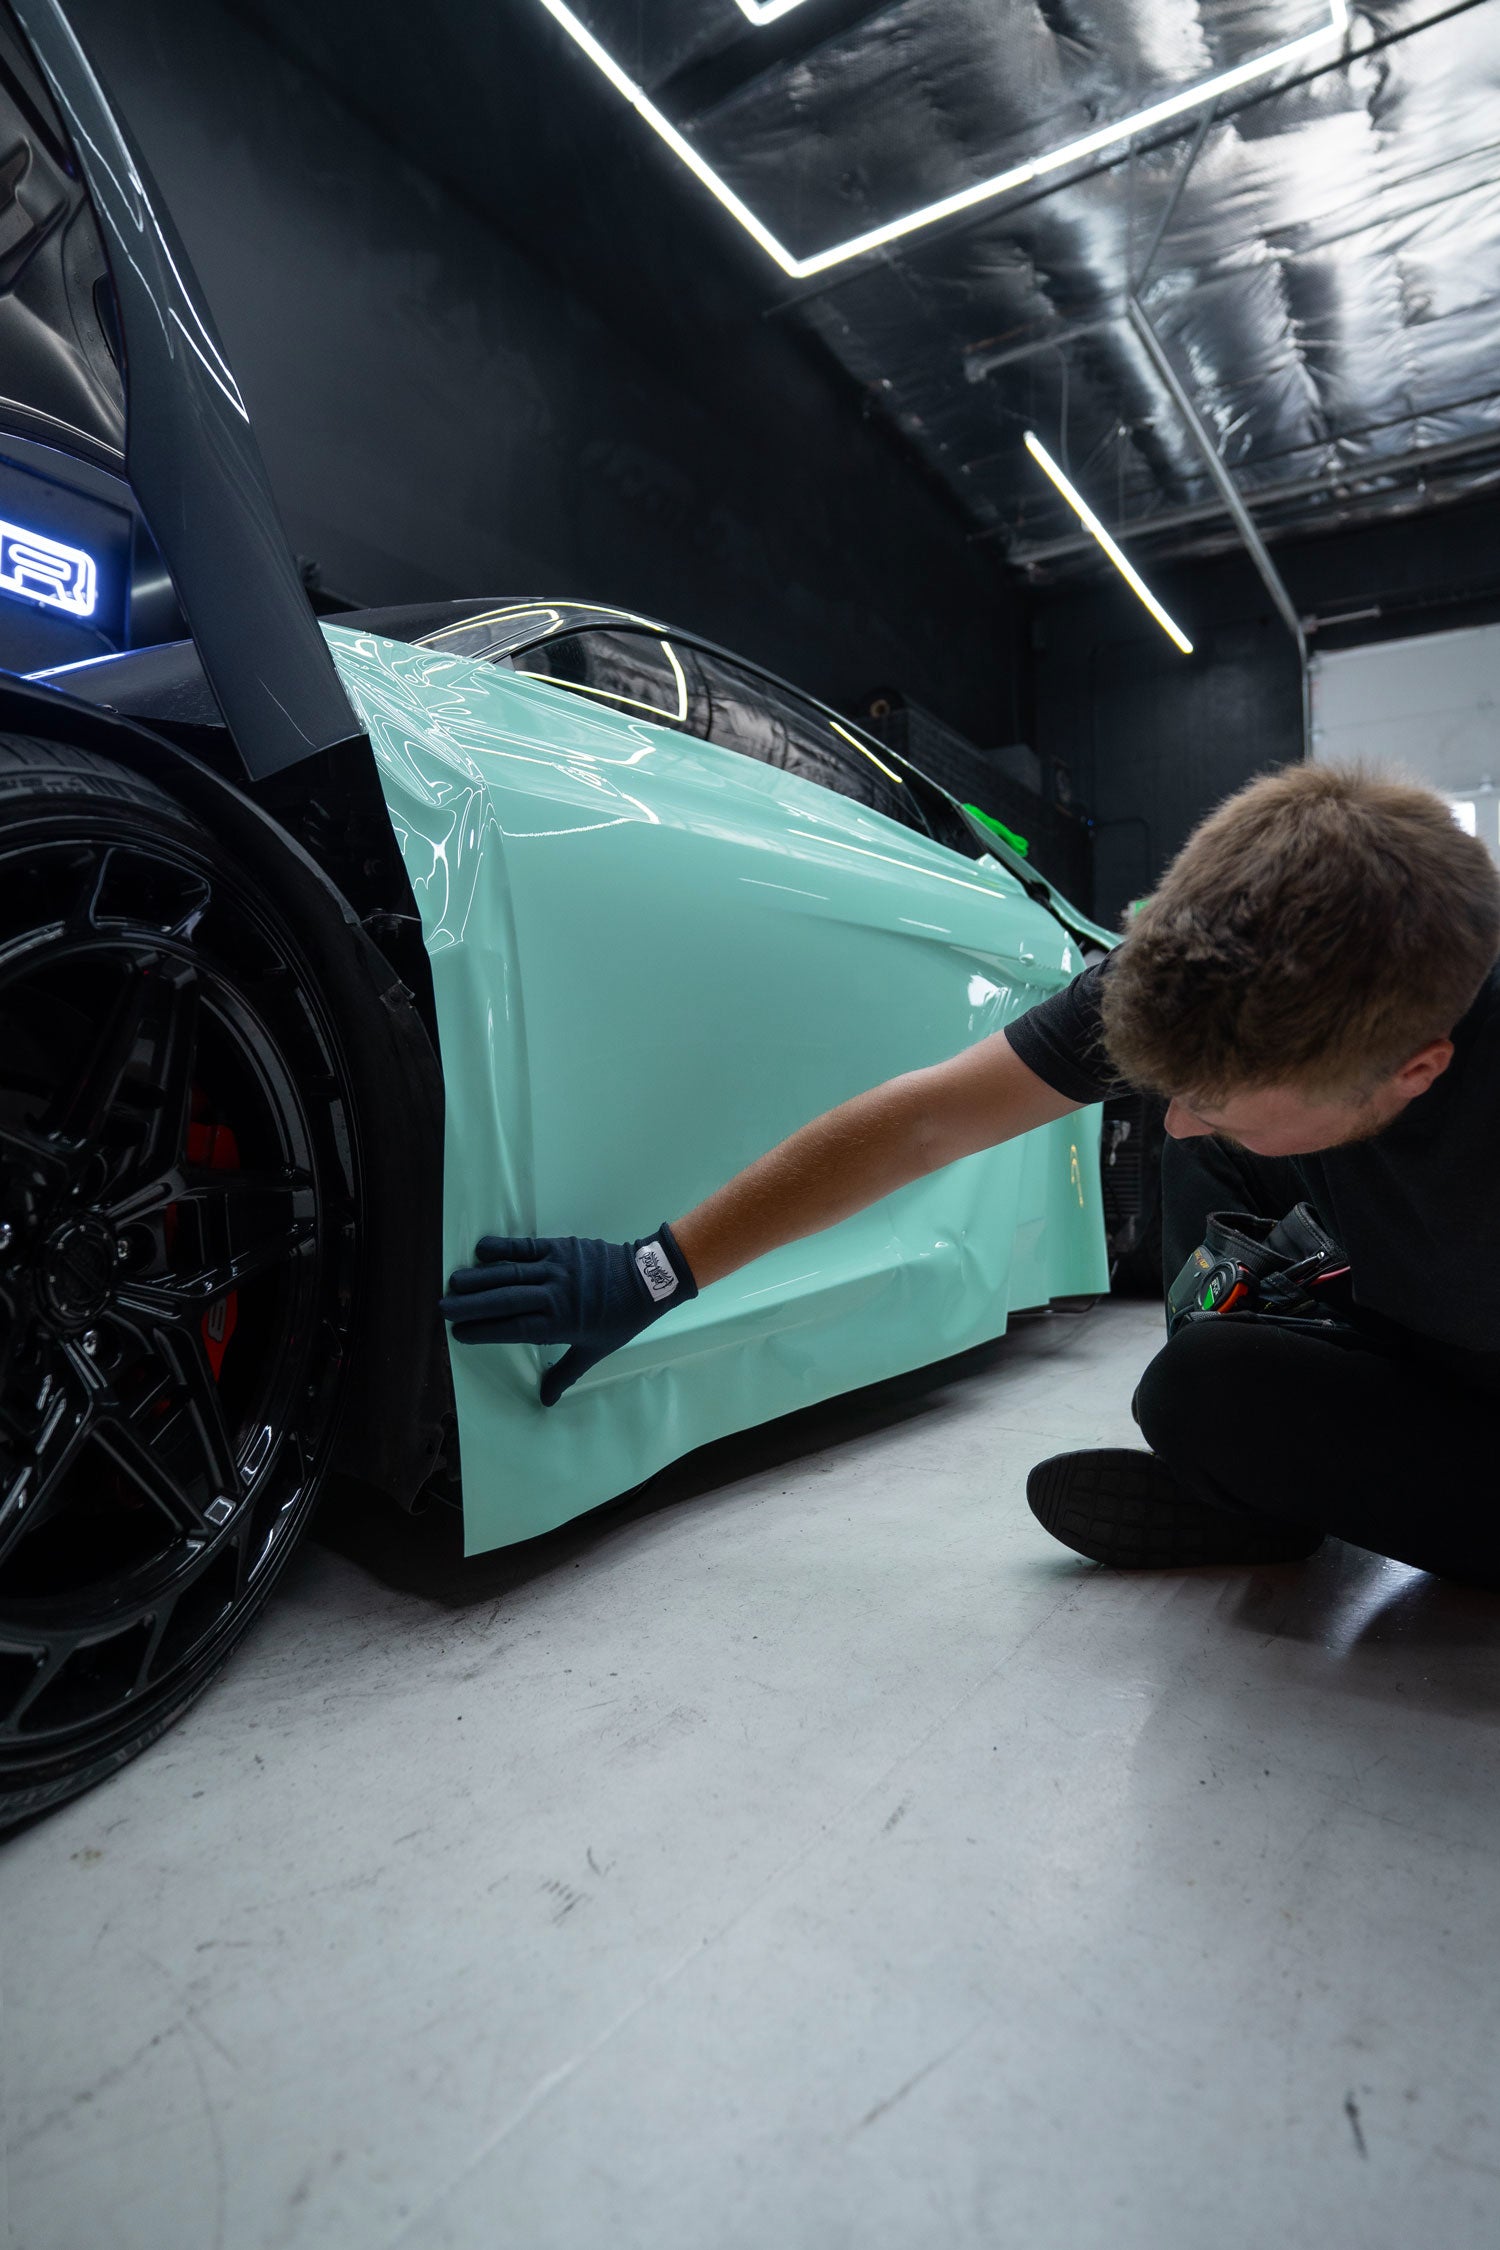
DRY INSTALLATION APPLICATION
Being sure to avoid any dust, dirt, fibers, or debris, remove the backing paper and apply the film to your panel. Without folding it or creasing it, evenly distribute the film across the panel by “glassing” the film and giving yourself a nice flat surface to work on. Once the film is in place, use a squeegee to firmly apply the film onto the surface, ensuring that it adheres properly without trapping air bubbles.
EXPECTATIONS IN PPF
-
WORMING & LINES
Worming is when air gets trapped inside the channels of the film. These small visual imperfections are a normal byproduct of PPF installation and may dissipate over time.
Repositioning the film can also run the risk of creating lines in the adhesive. This is a normal part of installation and the reposition lines will become less noticeable over time as the adhesive settles.
-
AIR & WATER POCKETS
Air and water pockets naturally form during installation. They may dissipate over time, but if they don’t, please contact your installer so that they can address the situation professionally. Rest assured that these pockets of air and water do not mean the film has failed or was installed improperly, they are a normal part of the curing process and usually appear due to temperature changes.
-
CURING TIME
Most imperfections will appear and/or disappear within the first 2 weeks after installation as the film begins to settle and adjust to various temperatures. Most commonly you may see air & water pockets, worming & adhesive lines. Rest assured that these things are normal. However if you still see any issues after 2 weeks, please contact your installer.
QUESTIONS? LET US KNOW.
